The definition of calibration is to calibrate an instrument or tool by marking or adjusting it so that you can use it to measure something accurately. Colour calibration measures and/or modifies the colour of a device to a known state. Calibration is a requirement for all tools that are using an active part of a colour-managed workflow and are used by many industries such as medicine, engineering, photography, and more.
Device Calibrations
The most common form of calibration aims for adjusting cameras, scanners, monitors, and printers for reproduction. The printed copy of a photograph needs to appear equally in dynamic range and saturation to the original source file on a computer screen. For that to work you need three independent calibrations to be performed:
- The camera or scanner requires a device-specific calibration to represent the original estimated colour explicitly.
- The computer display needs a device-specific calibration to reproduce the colours of the image colour space.
- The printer needs a device-specific calibration to reproduce the colours of the image colour space.
Calibrating your monitor is one of the necessary steps that is forgotten or ignored. Both Windows and Mac have built-in calibration tools which are helpful, convenient, and easy to locate on your operating system. Just remember that display type and model limits these adjustments.
A monitor displays with new technologies can be expensive, like 4K UHD resolution, high-dynamic range (HDR), and other monitors, and need to be correctly calibrated. Its impact will be lost if you don’t carefully and intermittently calibrate your monitor. If you don’t calibrate your monitor the colours on the screen may not be the exact match of what they actually are. Imagine that you took an image and downloaded it to your computer only to find out that it doesn’t resemble the one you saw through your viewfinder.
Colour calibrated monitors are essential to get as close to the real thing as possible. The idea for tweaking the monitor settings is to clearly distinguish the transition tones from true black to pure white. After calibration, the blacks should look black and without any hint of grey.
Use these steps for your calibration:
- Always choose a 2,2 gamma
- Choose a colour temperature of 6.500K rather than 5.500K, if you only have those two possibilities
- If possible, deactivate automatic brightness control
You can also take some online help from monitor calibration websites, such as Photo Friday, Online Monitor Test, and The Lagom LCD Monitor Test Pages. These websites can provide more precise, or more customized, calibration than the built-in utilities.
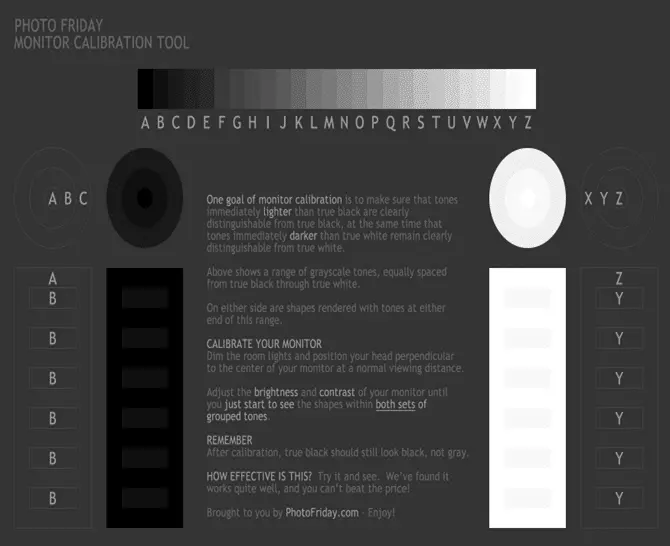
Photo Friday
Photo Friday is a photography site, that is designed to help you calibrate the brightness and contrast of your screen. Just adjust the monitor settings until the transition of tones from black to white is clearly distinctive on the monitor.

Online Monitor Test
Online Monitor Test is one of the best calibration websites to test and adjust your monitor, and it is lined with interactive tests to help you improve your monitor’s screen colours and to look if your monitor can produce smooth gradients. There are also other tools for damaged pixels and backlight bleeding.
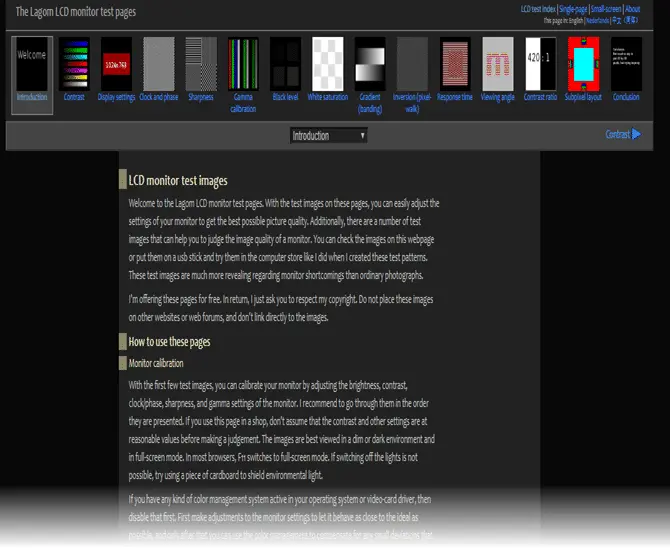
The Lagom LCD Monitor Test Pages
For both online and offline, The Lagom LCD Monitor Test Pages is a handy website that can not only allow you to adjust contrast and response time, but it also allows you to download images as a zip folder so you can check any monitor you are thinking about purchasing in the future.
The built-in calibration utilities and web-based software are great for a quick fix, but these calibration processes relied on an individual’s perception of colour and based on how you see them differently.
Calibration Devices
Purchasing a calibrating device ensures your monitor is calibrated to its real perspective. You need to invest in some money if you’re looking for superior precision and control. If you are on a tight budget, there are still some affordable alternatives that will work and will help obtain colour consistency across all your monitors.
The recommended tools for calibration are the Spyder5Express, the Spyder5Pro, or the Spyder5Elite. All three devices feature a full-spectrum, seven-colour sensor to help accurately characterize a variety of wide-gamut and regular displays. If you decide on purchasing one of these devices, all you have to do is attach it to the screen, connect it to the USB port, run the software included, and the software will walk you through the process. The Spyder5Pro is an excellent monitor calibrator without breaking your bank.
The X-Rite ColorMunki series is a great alternative, and these devices come with automated calibration software. The X-Rite i1Display Promodel is the calibration device reference used today. It allows calibrating for monitors and laptop screens.
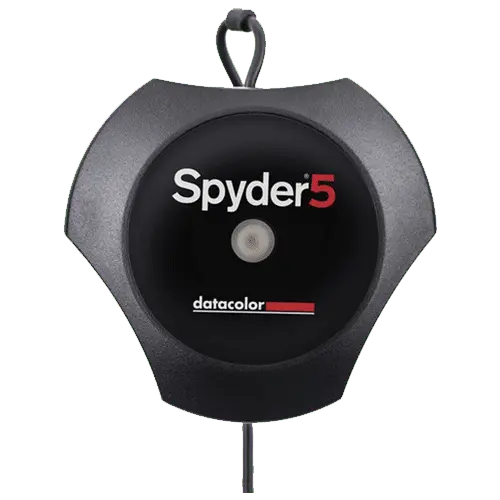
The Spyder5Pro
The Spyder5Pro by Datacolor is the company’s middle ground offering in the Spyder5 family. Not quite as expensive as the Elite but also packing more features than the Express entry model. Should you not require the calibration of monitors built for professional tasks like video editing and creativity apps, the Spyder5Pro is an excellent tool to keep the image being displayed looking great.
Bottom-line: It’s the best monitor calibrator for most PC owners.
One more thing: The Spyder5Pro is backed by easy-to-use software.
Web source: https://www.windowscentral.com/best-monitor-calibrators
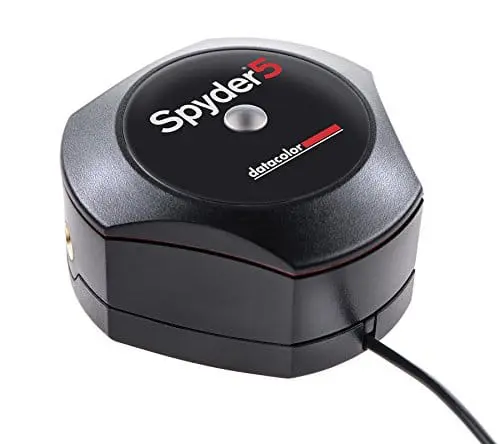
Spyder5Express
The Sypder5Express is the more affordable option from Datacolor, allowing PC owners who do not do much professional work to take full advantage of a capable calibration tool. It’s the easiest Spyder5 tool to use out of the bunch and doesn’t come with more of the advanced features found in the more pricey models.
Bottom-line: It gets the job done and makes things look better on-screen.
One more thing: Calibrate different computer monitors using only one device.
Web source: https://www.windowscentral.com/best-monitor-calibrators
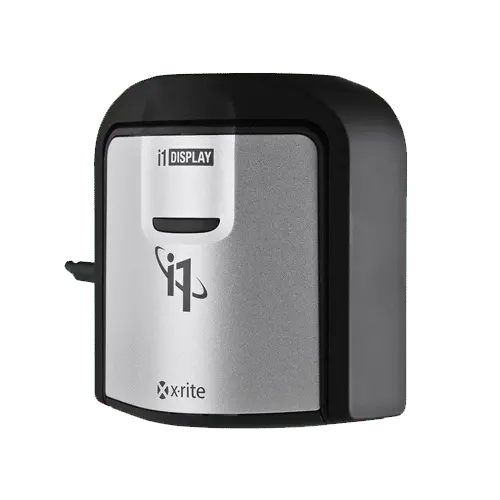
X-Rite i1Display Pro
The i1Display Pro by X-Rite is an expensive display calibrator but is well worth the cost if used on screens hooked up to a professional editing workstation. The device itself is fast, responsive and reliable and even works with mobile apps on iOS and Android. There are also a bunch of advanced features like being spectrally calibrated and support for broadcast video standards.
Bottom-line: It’s everything you need to calibrate a monitor professionally
One more thing: Features include profile optimization, display trending, display uniformity testing, and more.
Web source: https://www.windowscentral.com/best-monitor-calibrators
Conclusion
Calibrating your monitor is simple, it will benefit you on many levels. It also helps ensure your prints match your screen, for that reason you don’t have to stick with settings that came with your monitor.